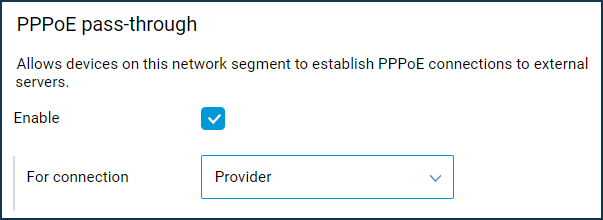
PPPoE pass-through
Besides the built-in PPPoE client in the router, you can enable the PPPoE pass-through mechanism in Keenetic devices to allow hosts on the LAN to independently establish a PPPoE connection to the external server through the router. For example, when you need to set a PPPoE connection with your account and directly obtain a public IP address from an ISP on a dedicated server connected to the router.
You can also use the PPPoE pass-through to test a PPPoE connection. If the router cannot establish a PPPoE connection with the ISP server for some reason, you can enable the PPPoE pass-through mechanism and try to set a connection from a computer.
The PPPoE pass-through mechanism only applies when you need to establish a PPPoE connection from the host. This mechanism has nothing to do with the PPPoE client of the router itself.
You can enable PPPoE pass-through in the web interface on the My Networks and Wi-Fi page. Enable this option, and in the For connection field, specify the interface or connection where the external PPPoE server is.
Note
This section appears in the web interface only when the IGMP/PPPoE proxy service component is installed in the router. Make sure that the specified component of the KeeneticOS system is installed in the router. You can do this on the General System Settings page, under KeeneticOS Update and Component Options, by clicking Component options.

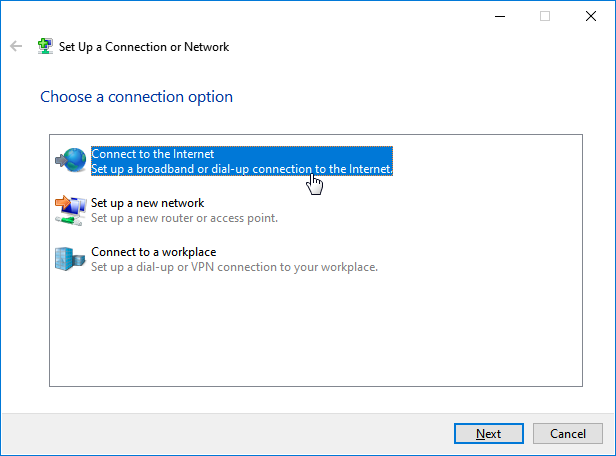
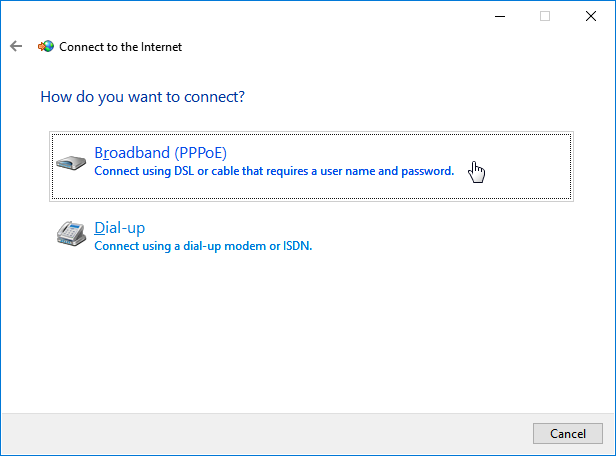
An example of creating a PPPoE connection on a Windows 10
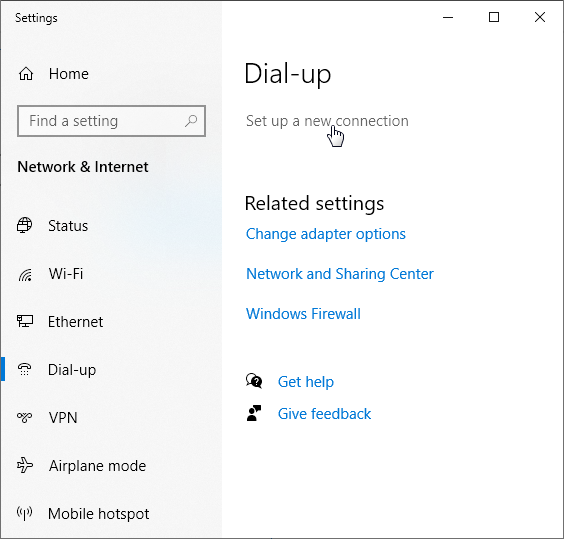
Open the Settings window. In the Network & Internet section, select Dial-up and then click Set up a new connection.
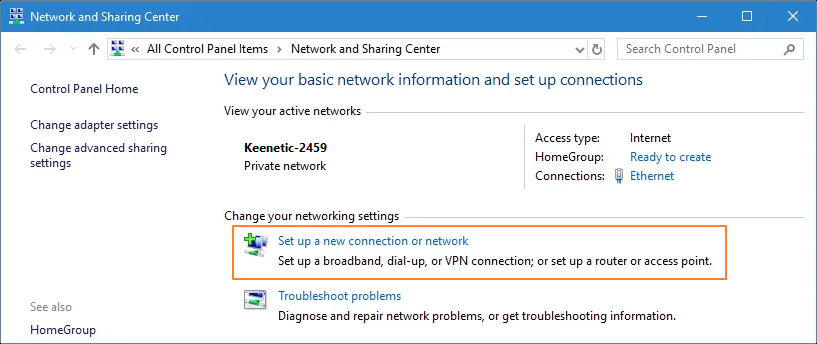
The Network and Sharing Center opens, where you can click Set up a new connection or network.
Select Connect to the Internet (Set up a broadband or dial-up connection to the Internet), and tap Next.
Then select the connection type — Broadband (PPPoE).
Enter the login and the password to access the Internet received from your ISP.
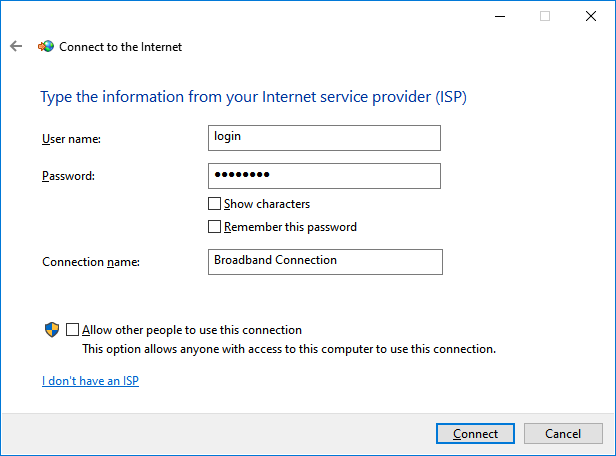
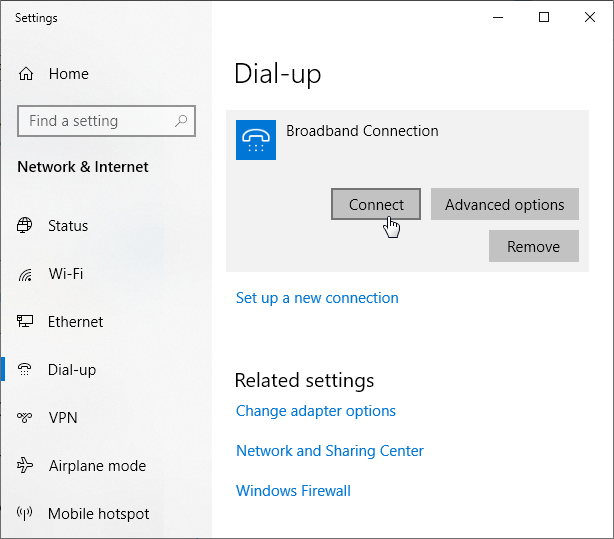
Then launch the PPPoE Broadband Connection.