Time Machine backup support
Keenetic routers support Time Machine network backup on USB drives for Apple computers running MacOS X 10.5 or later.
First, follow the AFP server (shared access to files) instructions to access USB drive files from MacOS X.
Then go to the Applications page and click the AFP Server link. In the AFP Server window, in the Shared Access section, click Add shared resource to configure and add a shared folder to run Time Machine. A window opens with a built-in file browser, where you need to specify a folder on the USB drive and then click Select. The Shared resource name field will automatically be set to the shared folder's name, but you can change the name if you like (in our example TimeMachine).
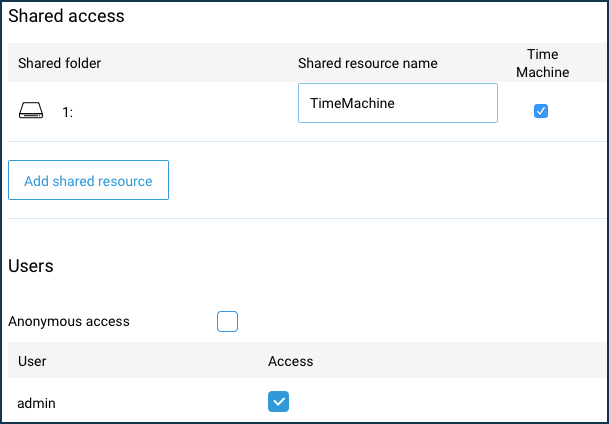
In the Users section, select the users you want to allow access to the USB drive files or create user accounts with the rights to access the drives by clicking the Add user button. For more information on differentiating user access to folders, see Folder permission control on a USB drive. If necessary, you can enable the Anonymous access option. In this case, all users on the local network will have full access rights without authentication.
Then go to the MacOS settings. Below is an example of how to set up a Time Machine backup via the AFP protocol.
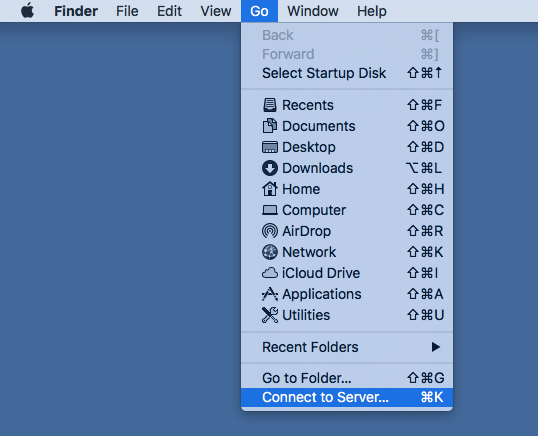
From the top bar, select Go and then Connect to Server.
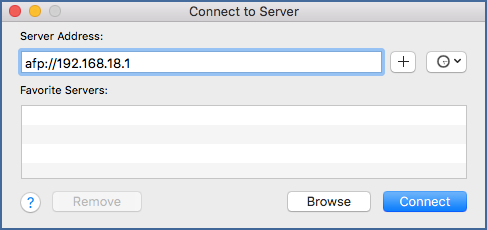
In the window that opens, enter the Keenetic router's local address in the Server Address field in the afp://ip-address format (in our example afp://192.168.1.1), and click Connect.
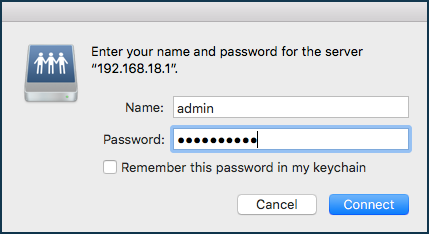
Enter the name and password of a Keenetic account that has the access and click Connect.
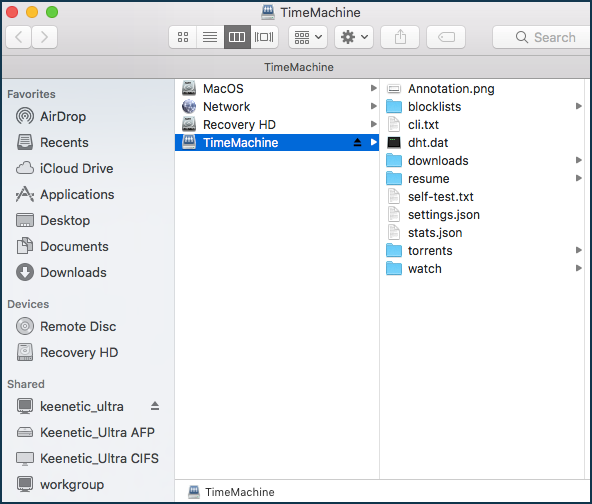
Once connected, the Finder file manager window will open, where you will see the connected shared folder with the name previously specified in the Keenetic settings.
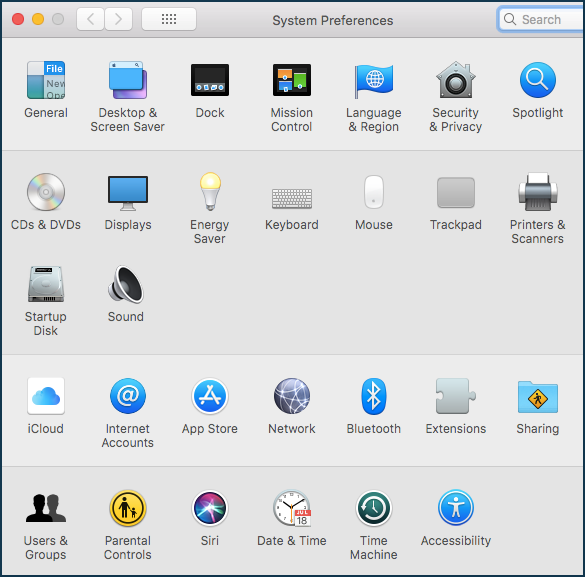
Click on the Apple icon and select System Preferences.

A window opens where you need to find Time Machine and launch it.
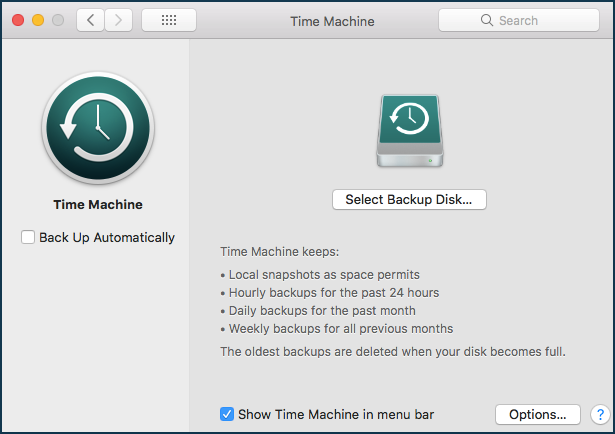
In the Time Machine window that opens, click Select Backup Disk.
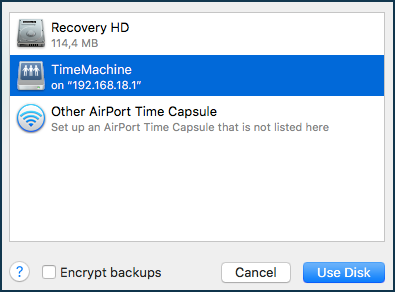
In the list of available resources, select the one you created in the router and click Use Disk.
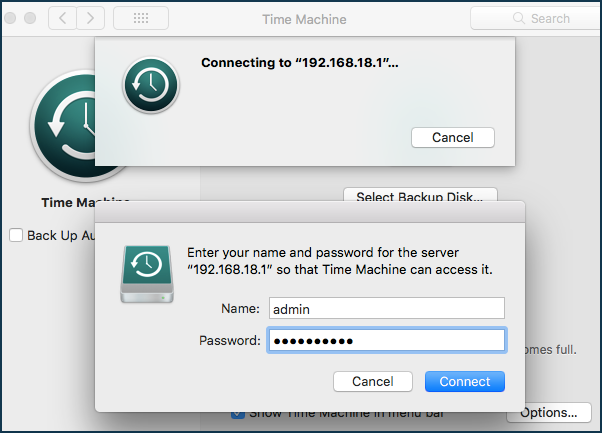
You will be asked for an account name and password. These should have been saved at the stage of connecting the drive if you have enabled the option Remember this password in the keychain. If you have not done so, enter your account name and password again and click Connect.
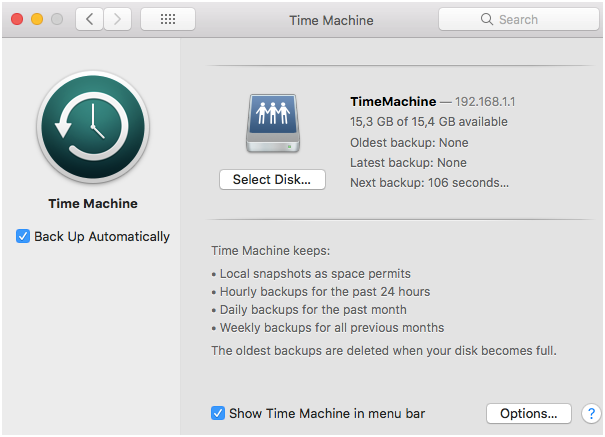
Once connected, the Time Machine status will become Enabled, and the available backup volume will be displayed. The Next backup field will show the countdown to the next backup, starting with 120 seconds.
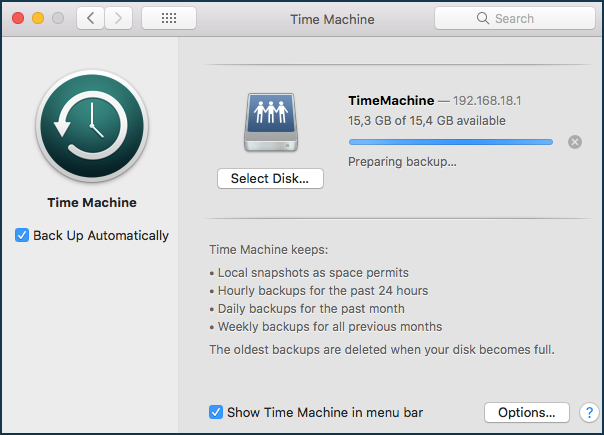
After 120 seconds, the backup process will start. MacOS data will be automatically copied to a USB drive connected to the Keenetic router.
Important
The initial full backup process can take a long time, especially when the Apple computer is connected wirelessly. After that, Time Machine tracks the changed files and makes a backup
every hour.This function works only within the local network because Time Machine uses the Bonjour protocol, transmitted by multicast.